





Written By Annie S.
Fifteen years ago, an eldritch meteor tore through the city of Drakkenheim, leaving behind a sprawling urban ruin saturated with a deadly haze and delerium—a substance that grants power at the cost of sanity and flesh itself. Dungeons of Drakkenheim is a sandbox adventure for D&D 5th Edition that drops characters into the wreckage: giving them a city to scavenge, a handful of warring factions to navigate, and a crater at its heart hiding the truth behind it all.
This guide comprises our top picks for battlemaps to bring the ruined city to life, from grand processional plazas to the flooded sewers beneath them—with a couple of detours, of course, into the corrupted, fog-choked horrors that make Drakkenheim so iconic.
⚠️ Spoilers abound! If you’re a player, send this to your DM and return after you’ve braved the dangerous streets of Drakkenheim.
1. Drakkenheim Travel Maps — Gothic City Series
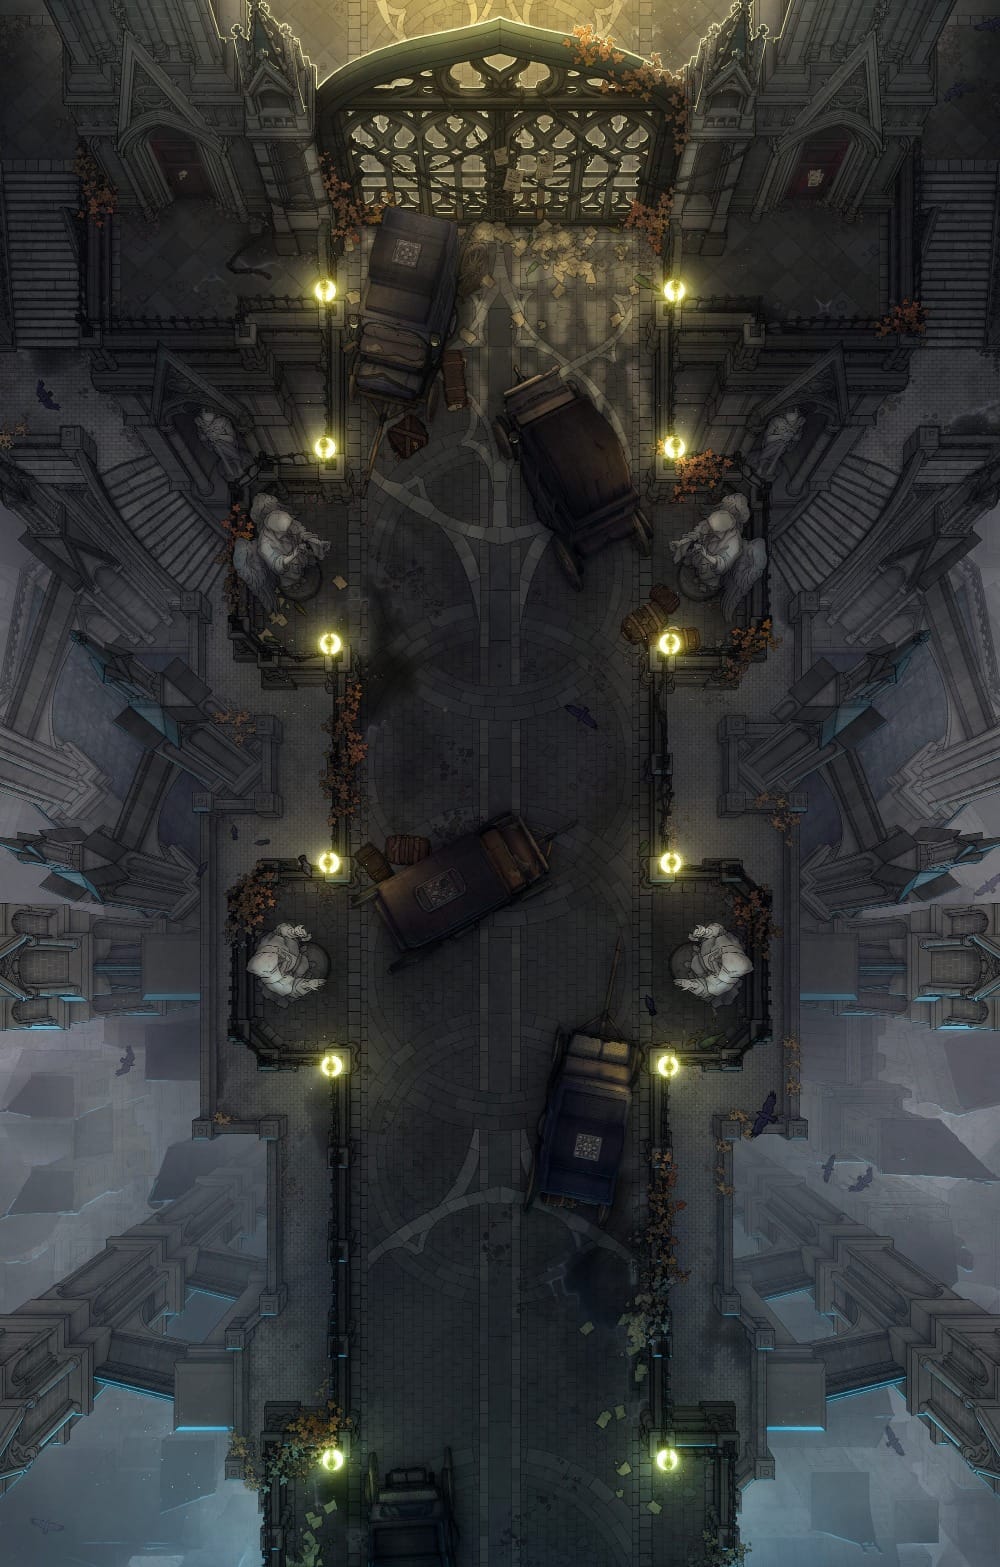
Much of Dungeons of Drakkenheim plays out on the city’s streets themselves, from narrow alleys where garmyr hunting parties stalk fresh prey, to open plazas where factions clash over territory and scavenged delerium. The book details specific set-piece locations in depth, but the streets connecting them are just as alive—and just as dangerous.
The Gothic City Series covers the range for all that in-between travel, with its melancholy, grim-fantasy streets, plazas, and crumbling establishments that work for any stretch of Drakkenheim your party might find themselves wandering through.
2. Slaughterstone Square — Grand Duke’s Plaza (Massacre)
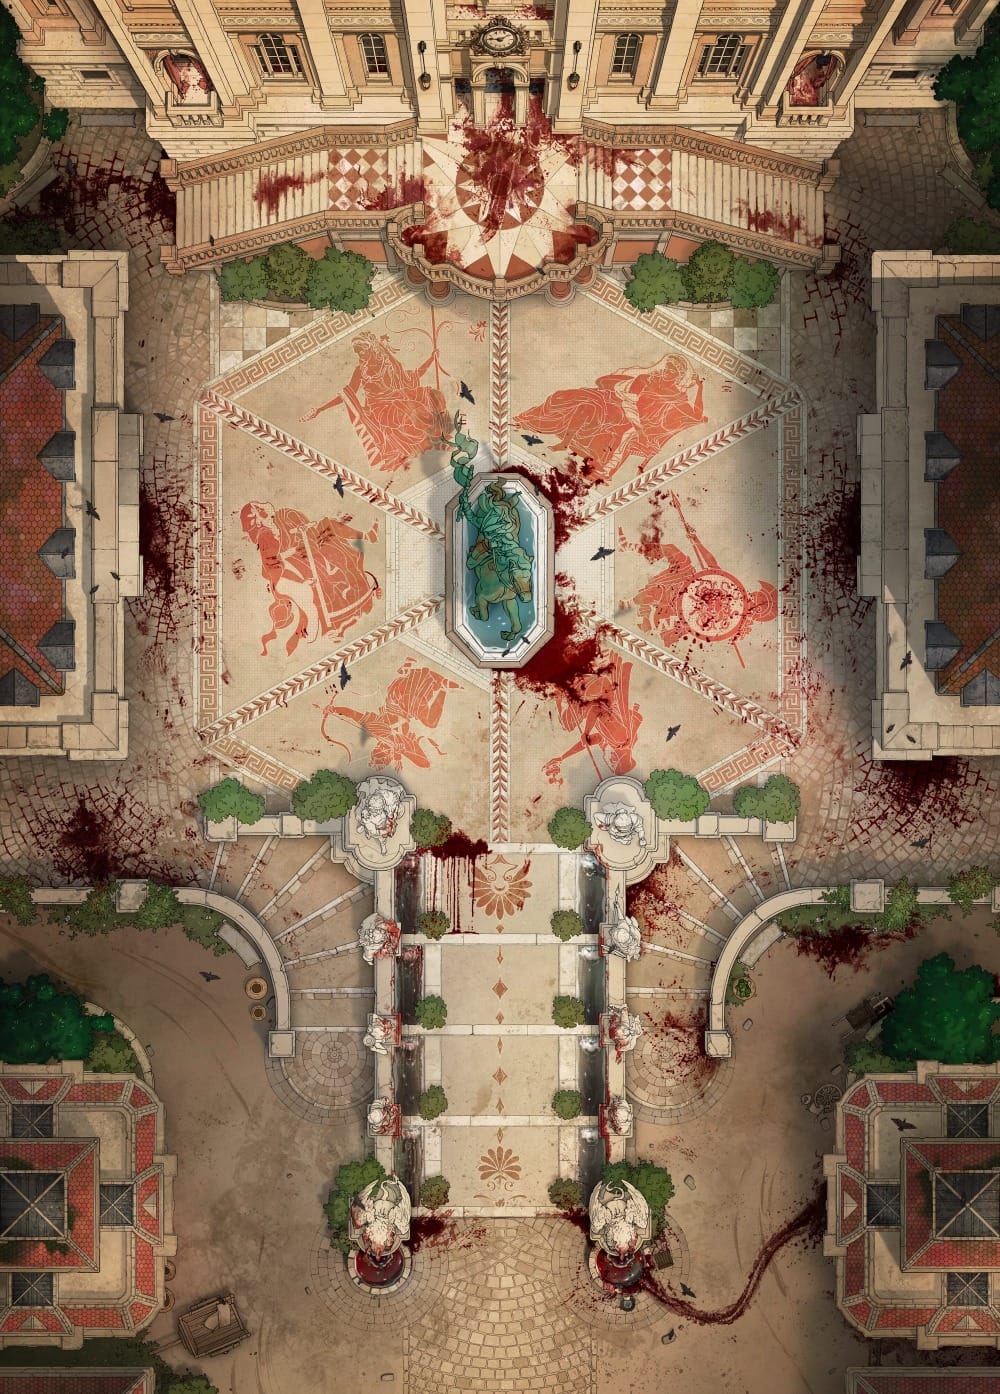
Slaughterstone Square was once the heart of Old Town, a grand octagonal plaza ringed by dour townhouses and dominated by the looming Magistrate’s Court. Now it belongs to the Executioner, an unkillable horror that claims any creature foolish enough to linger in its territory.
This Grand Duke’s Plaza map is a natural fit, with its central fountain and broad flagstone plaza matching the book’s layout almost exactly. The blood streaking across the mosaic needs no explanation for anyone who’s seen the Executioner—or taken a look inside the fountain.
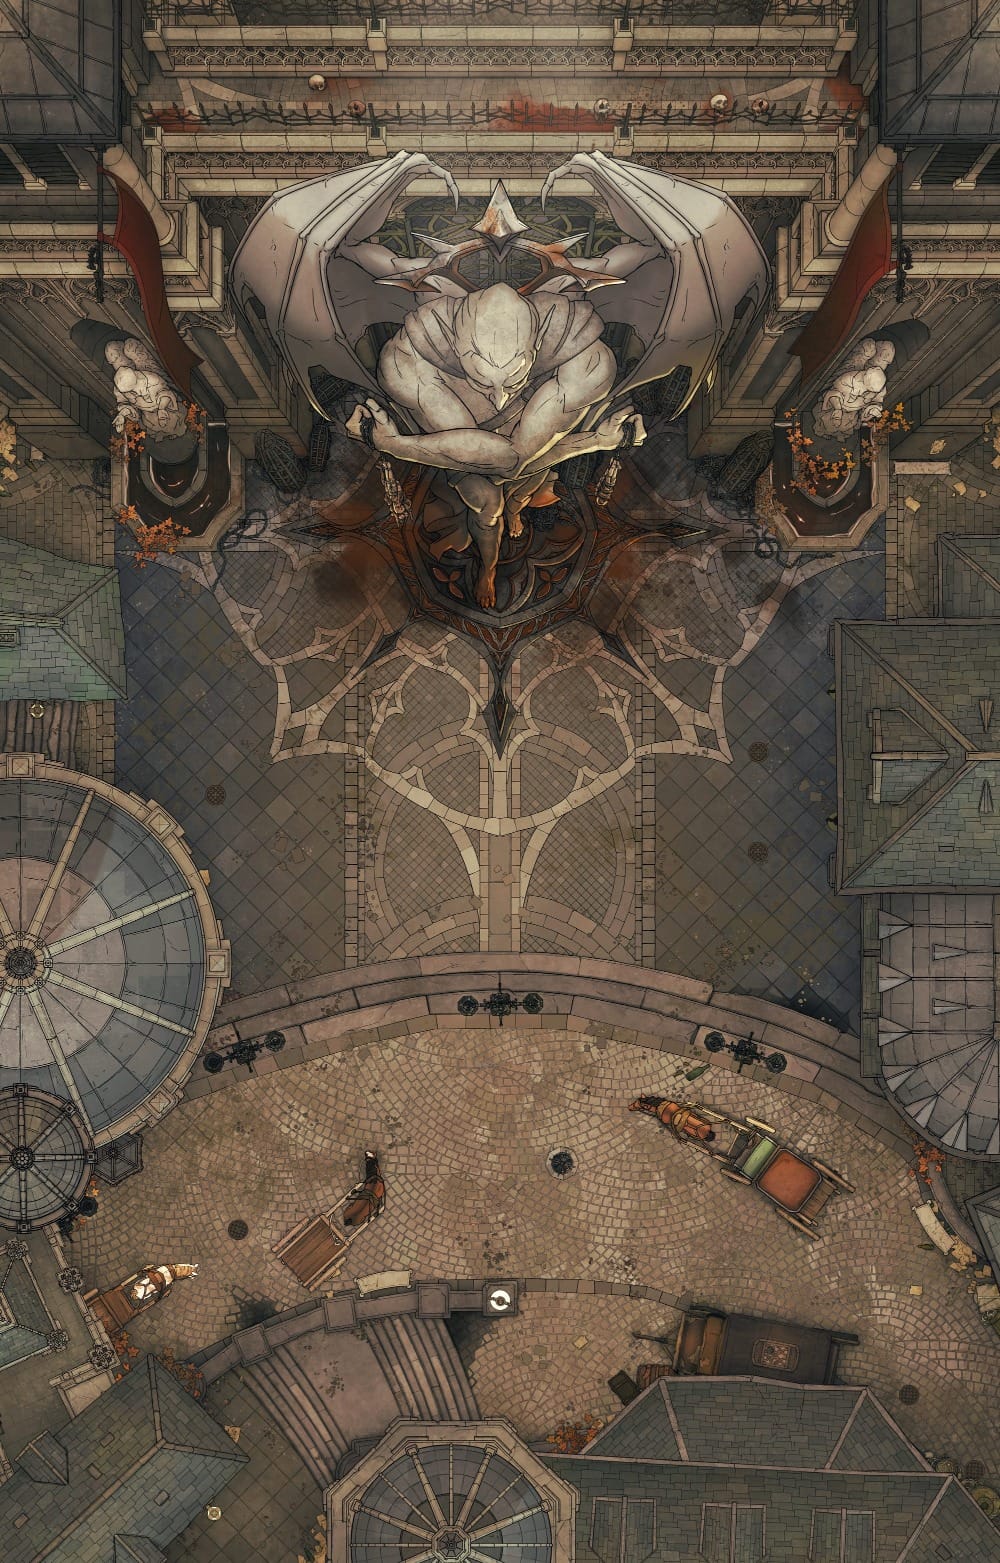
The Gothic City Series’ Execution Square is a less canonical fit for the location, but its blood-stained floors and looming statue make it a compelling second option for this iconic location.
3. Court of Thieves — Sewer Tunnels
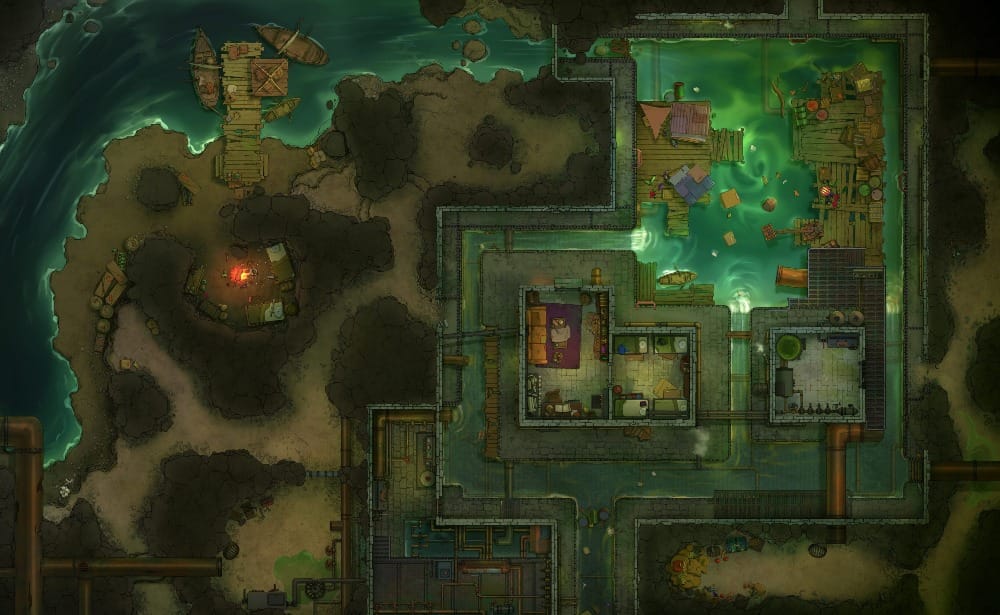
The Queen of Thieves keeps her lair hidden deep beneath Drakkenheim, reachable only by those who’ve tracked down one of her strike teams or earned an invitation through the fighting pits. The Court of Thieves is built into a drained sewer passage, described with wooden planks lashed across the canal and hanging lanterns strung overhead.
This Sewer Tunnels map is a great fit for the approach and outer reaches of the Court, with its rickety docks and flooded tunnels giving a strong visual for the labyrinthine, deliberately disorienting sewers the characters have to navigate before they ever reach the Queen.
4. Saint Vitruvio’s Cathedral — Cathedral of the Eight
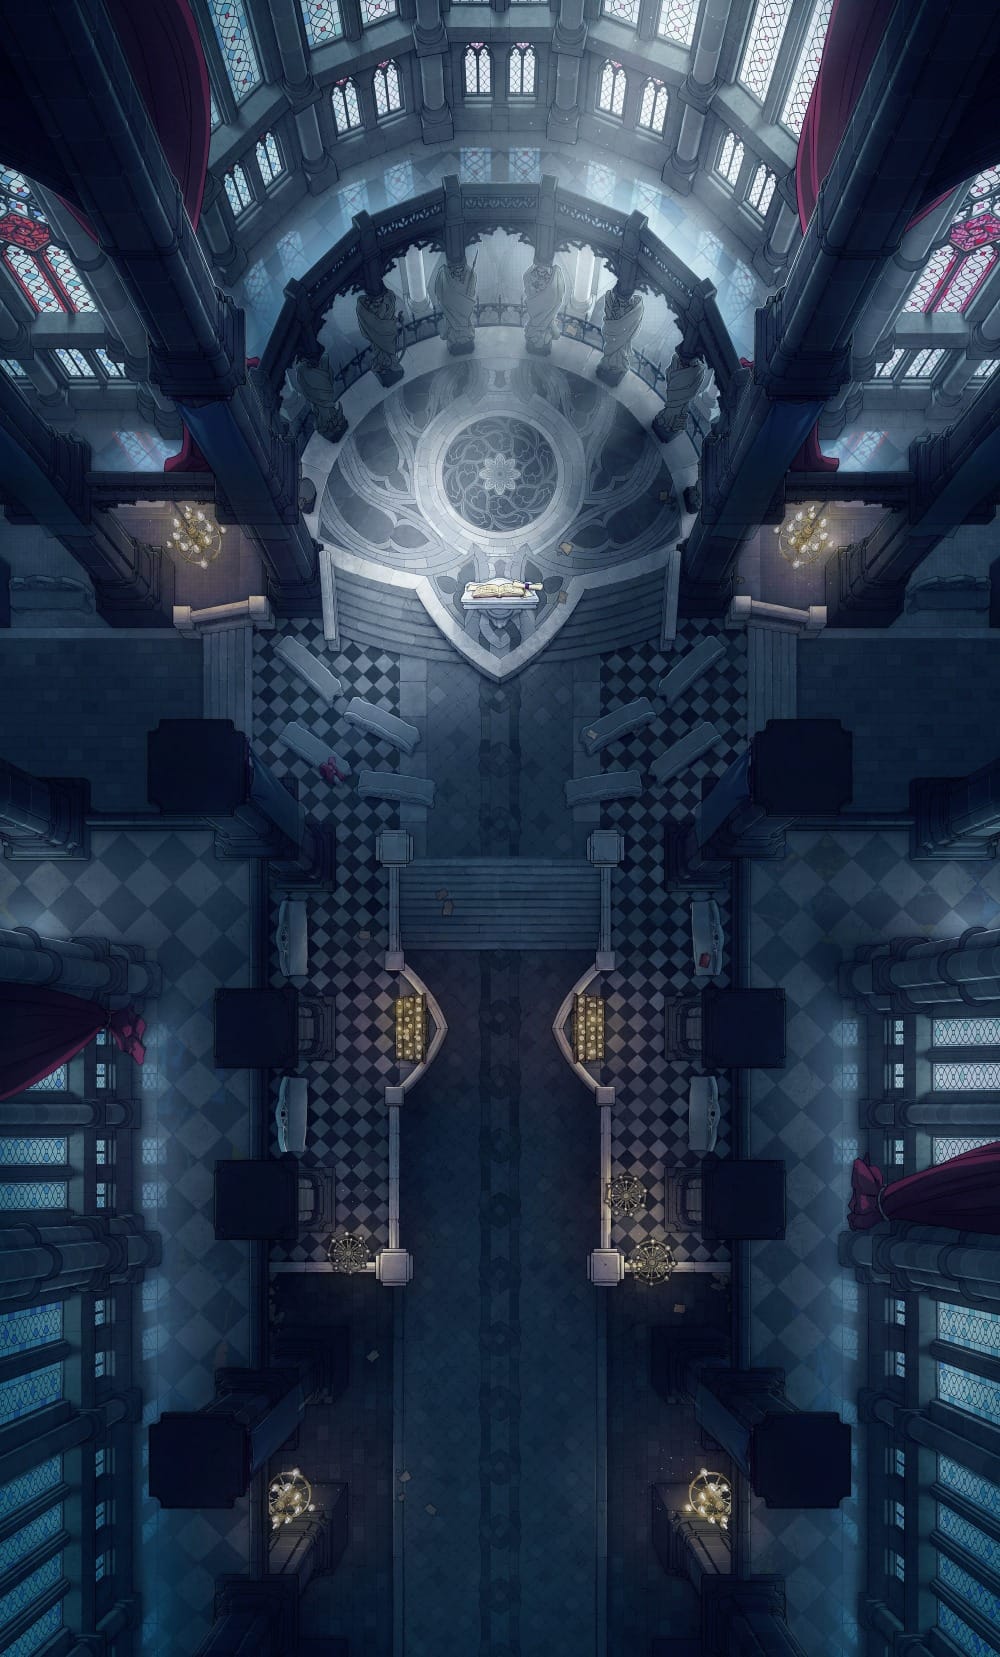
Saint Vitruvio’s Cathedral is one of the campaign’s most dramatic set pieces: a gargantuan baroque cathedral whose two-hundred-and-fifty-foot dome looms over the city, flanked by four bell towers. Reclaiming it means leading a coordinated multi-faction assault on the Lord of the Feast and his garmyr warband before the characters can descend into the catacombs below for its holy relics.
This Cathedral of the Eight is a hard map to beat when it comes to giving the location the gravitas it deserves, with its scale and atmosphere more than delivering on the premise of arguably one of the campaign’s most consequential moments.
5. Queen’s Fighting Pits — Monster Fighting Pit
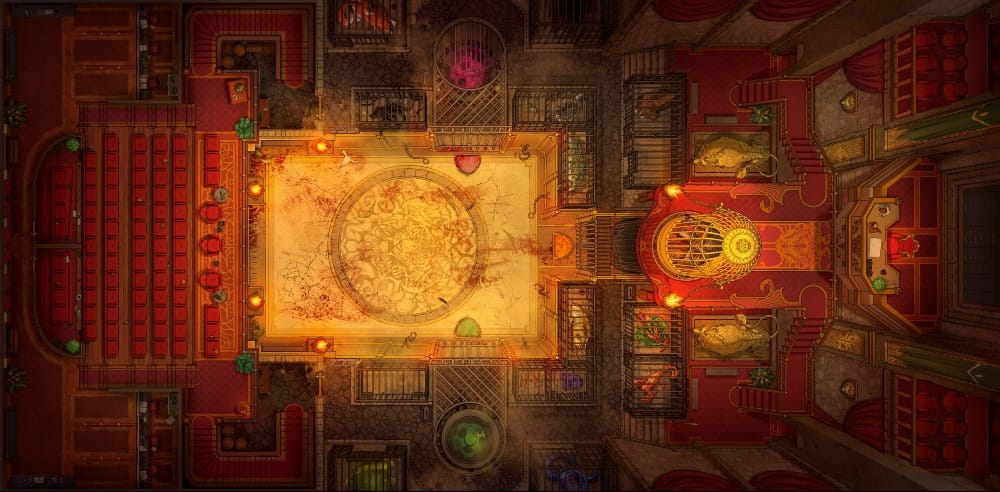
Win through the Buckledown Row fighting pits, and the character earns an invitation to the final champion at Queen’s Royal Pits, a venue known only through rumor and whispers—and the last obstacle between the party and an audience with the Queen of Thieves herself.
This Monster Fighting Pit map, with its gilded throne, red velvet seating, and exotic caged beasts, immediately communicates the Queen’s private arena as a significant step up from the dirt-floor brawling of Buckledown Row.
6. Drann River / Stick’s Ferry — Gate of Angels (River Styx)
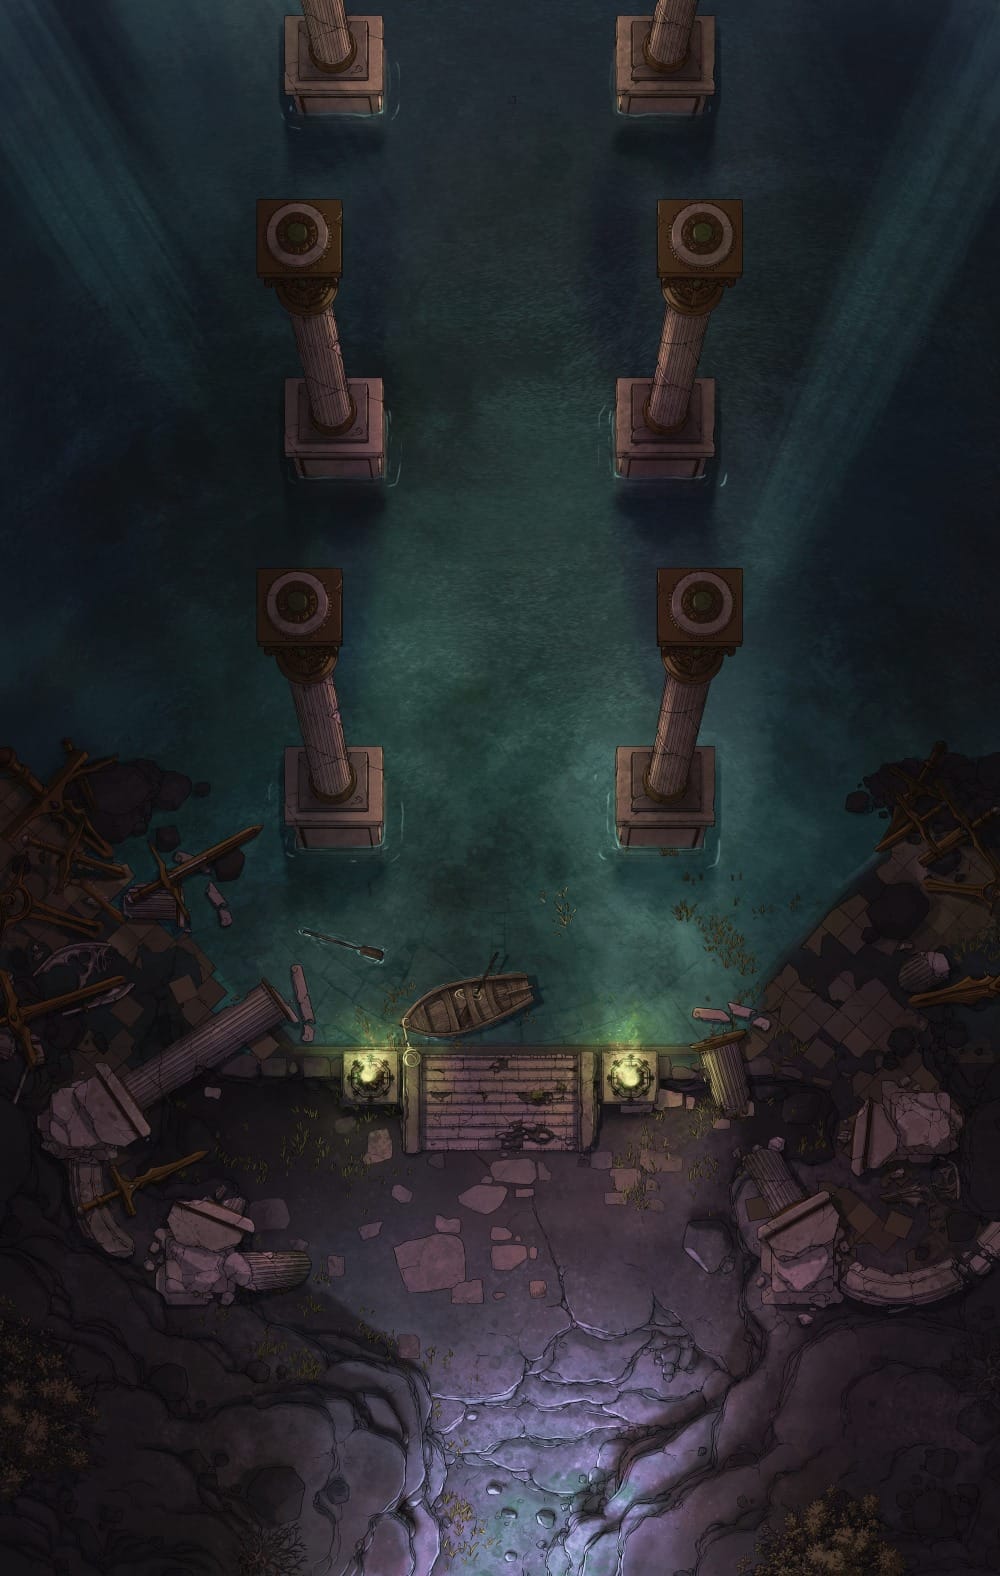
Stick’s Ferry is one of Drakkenheim’s quieter—but uniquely memorable—encounters: an undead boatman named the Ferryman who still rows passengers across the Drann River for a gold piece, just as he did in life. He communicates only in low moans and grunts, but still seems to enjoy the company!
This Gate of Angels map is a natural fit, with its single lonely rowboat and dim dock giving the crossing exactly the liminal, melancholic atmosphere the Ferryman himself embodies—the last remnants of normalcy in a city that was once filled with life.
7. Castle Drakken’s Throne Room — Royal Throne Room (Ruins)
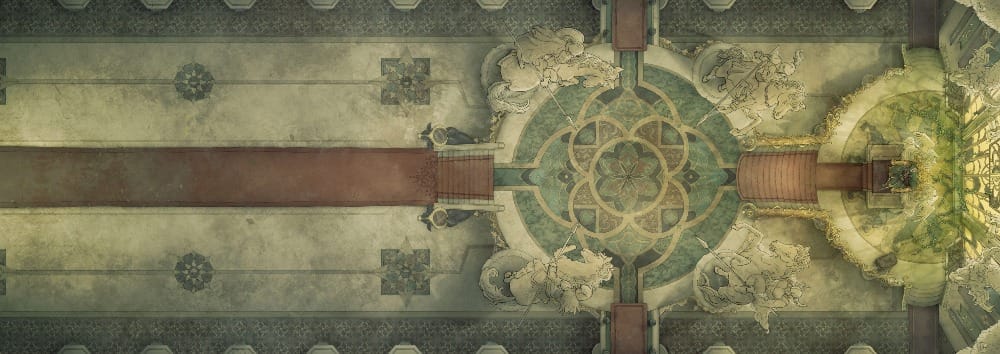
The campaign’s final dungeon ends in the throne room of Castle Drakken, a vaulted and once-magnificent chamber now overtaken by fleshy tendrils, twitching membranes, and massive delerium crystals. Before the Throne of Drakkenheim himself, the Amalgamation waits, a gibbering mass of fleshy tumors and rotting bones suspended from the ceiling.
This Royal Throne Room map gives the location all the gravitas it deserves, with a hazy colonnaded hall and sickly light painting a picture of fifteen years of decay and creating a perfect stage for the campaign’s final, gruesome confrontation.
8. Camp Dawn — Medieval War Tents (Fog)
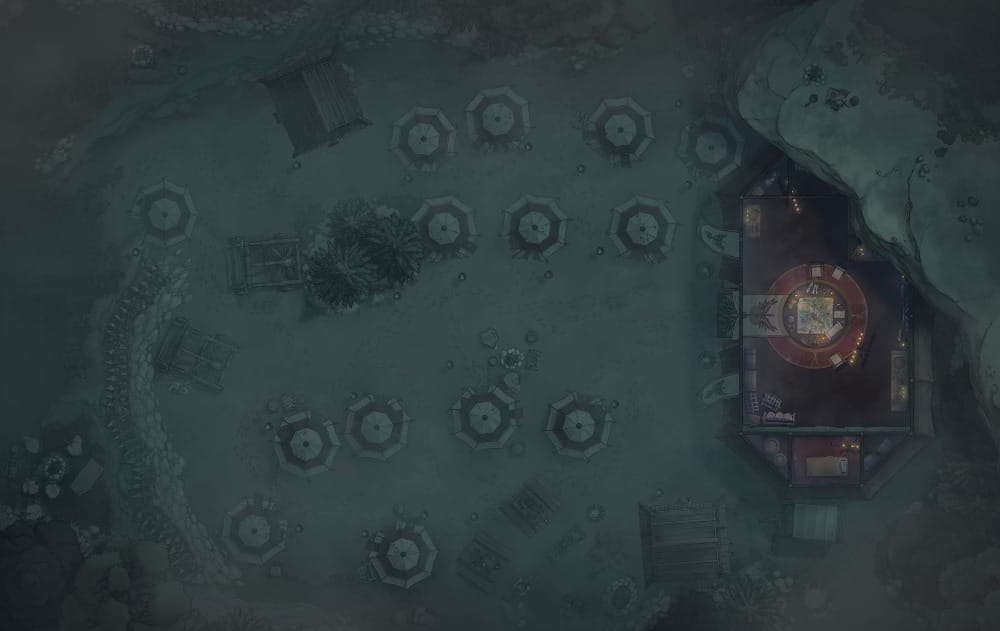
Camp Dawn is the Knights of the Silver Order’s fortified base of operations, built just a few miles outside the city. At its heart burns a consecrated pyre, and beyond it, the encampment stretches to accommodate hundreds of soldiers, rookeries, stables, and supplies.
The fog variant of this Medieval War Tents map is a hard one to argue with for this location; the dense haze pressing around a solid perimeter that sells Camp Dawn as a fortified foothold of order and faith, pitched at the edge of a danger it can’t truly keep out.
9. Delerium Deposit — Ruined Courtyard (Glowy Crystal)
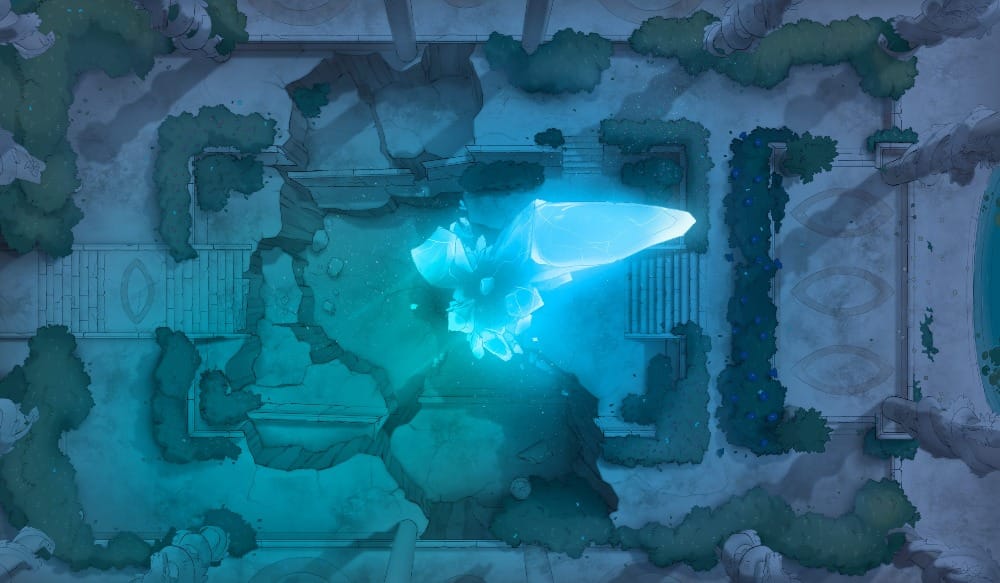
Delerium crystals are scattered throughout Drakkenheim where the meteor’s energy seeps through the city, erupting from walls, floors, and courtyards across every district. They’re a constant temptation and a constant danger, valuable enough for factions to contest but corrosive enough to mutate anyone who lingers near them too long.
The crystal variant of this Ruined Courtyard map provides a flexible, drop-in encounter map for any moment where your player encounters a large vein of this resource, inarguably marking a spot where the Haze has left its mark on the city’s architecture.
10. Haze-Mutated Area — Empyreal Bridge
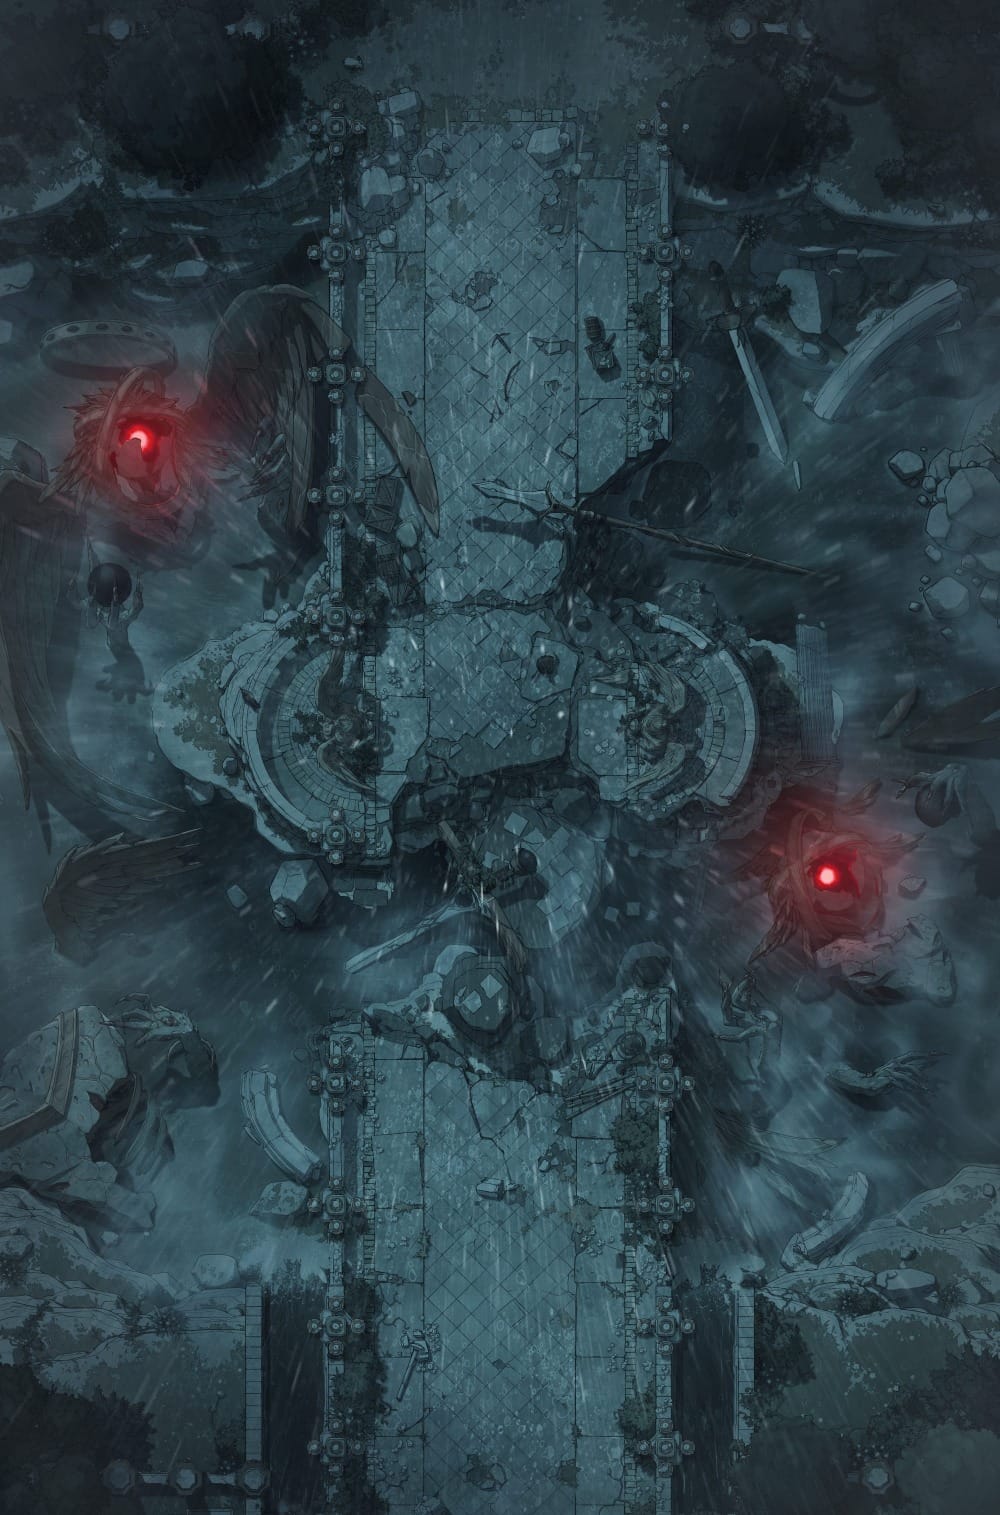
Despite all the mutated monsters, the Haze is the book’s most insistent and dangerous antagonist—an otherworldly contamination that the book describes as a billowing mist filled with glinting multi-colored motes, blanketing the ruins and mutating anything exposed to it for too long.
This Empyreal Bridge map distills the Haze’s danger and horror into a single image, with glowing red eyes and fleshy silhouettes reaching out of the foggy dark and making it a perfect fit for a random encounter deep in the fog—and for showing your table exactly what the Haze does to those who linger in it too long.
Didn’t find what you were looking for?
Much of Dungeons of Drakkenheim takes place in fog-choked, corrupted urban environments that don’t always fit clearly into singular named locations. If you’re looking for more maps that match the city’s atmosphere, try browsing the fog and eldritch tags on Czepeku—or the fog variants on urban maps, for the ruined streets and plazas of the former capital.
With over 8,000 maps in the Czepeku Fantasy Maps library, there’s a strong chance we have exactly what you need, no matter where your party finds themselves. Check out our guide to getting the most out of the library.
Start Your Adventure With a FREE Asset Pack!
Keep up to date with the latest from Czepeku, sign up to our mailing list now and receive an introductory goodie bag of fantasy and sci-fi maps, scene, and tokens.