


Written by: Annie S.
A good boss battle is the climax of an adventure; the moment where all the buildup and tension come to a head, and your players find their teamwork, skills, and strategy tested like never before. The environment, the atmosphere, the twists and turns of the battle—all of these things come together to leave everyone at the table buzzing with excitement long after the dice have been rolled.
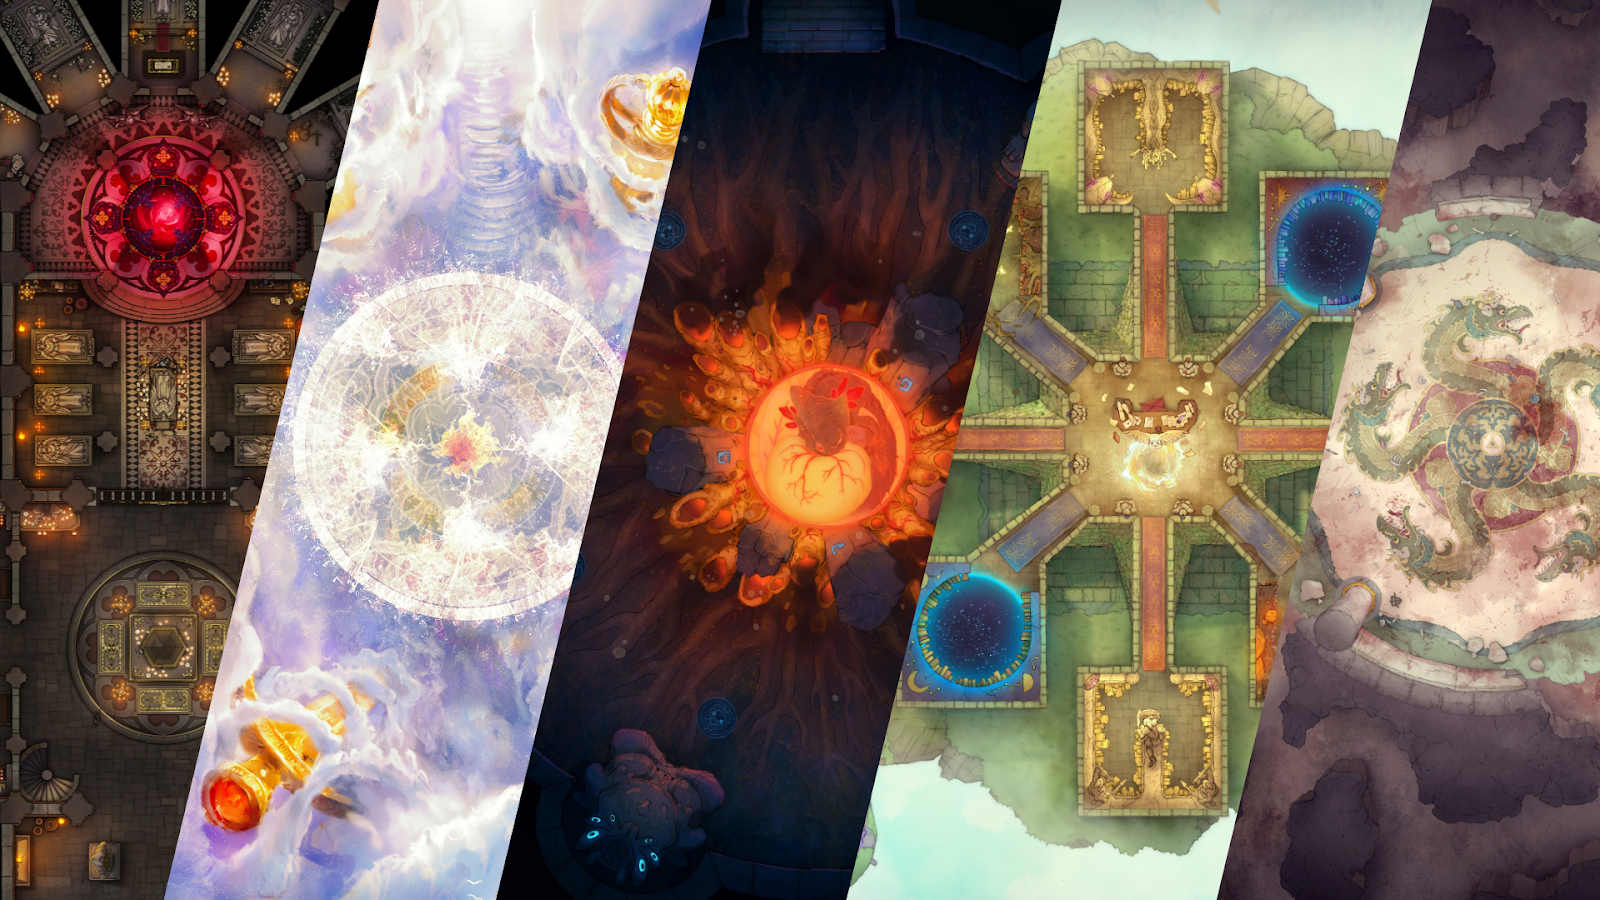
In this article, we’ll be exploring Boss Lair battlemaps in our library, each one packed with ideas to make your next D&D boss fight unforgettable. In addition to the stunning visuals, we’ll also be providing some unique boss mechanics and tips to make the most of these maps.
Whether it’s an evil lich scheming in a corrupted cathedral or celestial beings readying their divine judgment high among the clouds, these maps will make sure your boss battles end up just as epic as the stories leading up to them.
1. Grand Cathedral Crypt
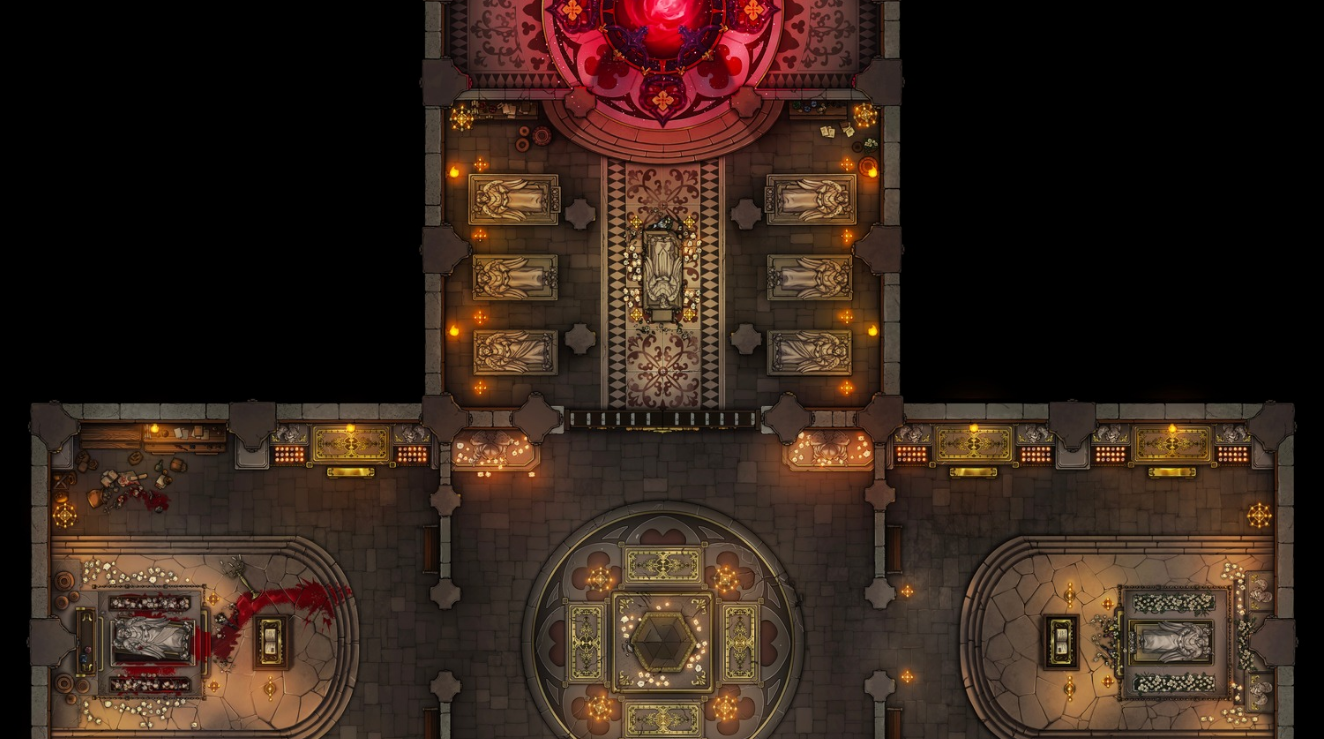
Heading up our list is the expansive Grand Cathedral Crypt map: the perfect stage for a climactic battle against some malevolent, necromantic force—such as a Lich or Vampire Lord—that has desecrated this once-holy place.
Even in its lead-up to the boss arena, the map is a sprawling, atmospheric space. Statues of long-forgotten saints stand vigil along corridors lined with rows of tombs, leading to the far end of the crypt. The room opens up here to a cluster of ornate statues and memorials surrounding a blood-red portal that ebbs and pulses.
Suggested Mechanics:
- Unholy Resurrection. As a lair action, the boss can animate the bodies in the tombs, flanking the players from behind with undead minions. Having been buried in a cathedral, many of them were likely holy paladins and warriors, interred with their armor and weapons—turning the encounter into a deadly, claustrophobic battlefield.
- Soul Siphon. As a lair action or reaction, the boss can siphon life force from the players, healing themself for a portion of the damage dealt. This kind of sustainability will force your players to prioritize, strategize, and time their attacks in unison with each other, as anything but large bursts of damage could give the boss a chance to recover.
- Sanguine Portal. We’d be remiss to ignore the giant, ominous red portal in the boss room. The portal pulses with dark energy, charging up with each turn that the boss isn’t interrupted or incapacitated. Once fully activated, the portal might be used to teleport the boss to another location (we recommend the Lich Catacombs!) or even unleash hordes of ferocious undead into the world.
2. Celestial Realm - Altar
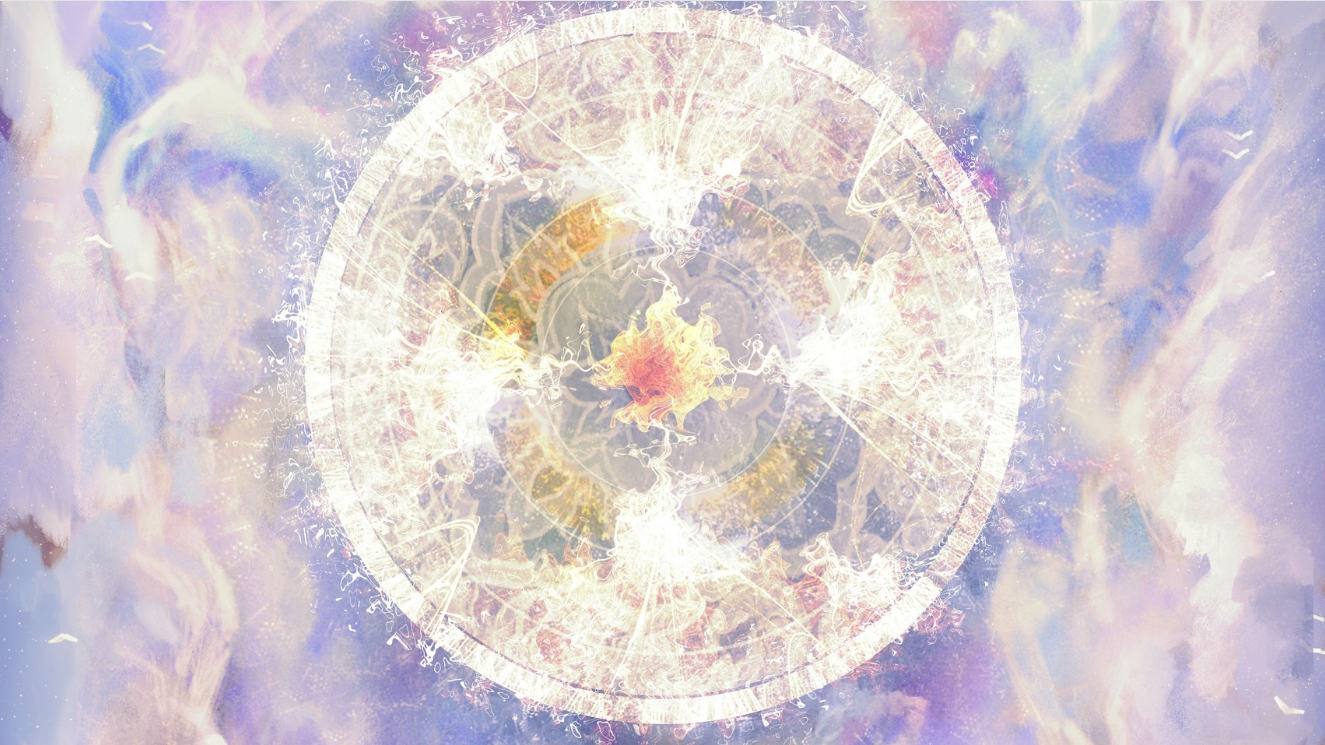
Not every boss battle needs to be fought in the depths of darkness—sometimes, your players must face the high and mighty foes of the heavens themselves. This Celestial Realm — Altar map provides a dazzling stage for your players to knock their foes off their high horse.
Clouds shift and flow like a living sea under a circular platform of divine light, floating above an endless expanse of skies. Towering swords hover over the celestial domain, gleaming blades pointing earthward—ever-vigilant sentinels of the sacred place.
Suggested Mechanics:
- Swordfall. The celestial boss commands the hovering swords to strike the platform with divine fury—forcing the players to dodge or take significant radiant damage. The swords also pierce the platform to create holes or create areas of difficult terrain.
- Radiant Fury. The celestial boss unleashes a burst of radiant energy, illuminating the battlefield with a blinding light. All non-celestial creatures within the area of effect must try to resist or be blinded until the end of their turn, and take searing radiant damage.
- Judgment Day. The celestial boss judges the souls of the players. This inflicts conditions such as fear, paralysis, or other incapacitating effects based on the players’ alignment and actions throughout the campaign.
3. Deep Sea Hatching Chamber - Original
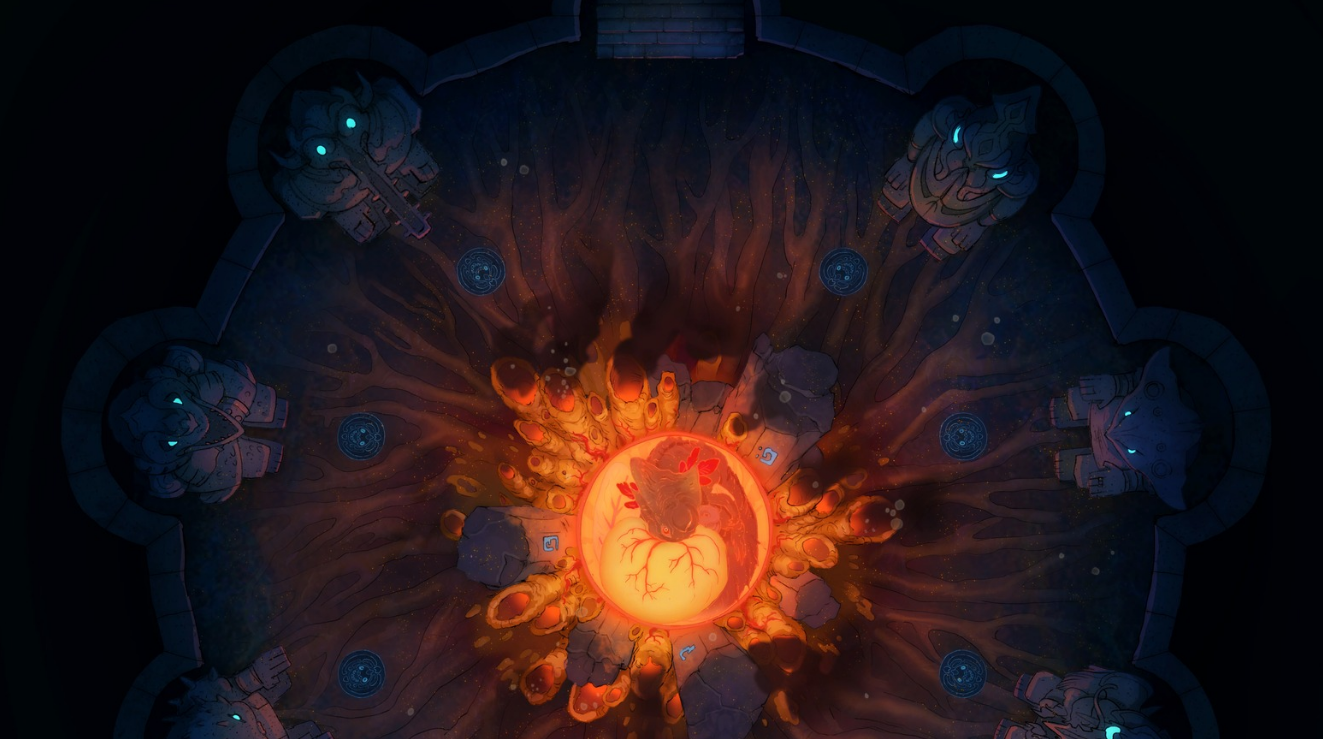
Beneath the crushing depths of the ocean, a horrifying secret is about to be unleashed in this Deep Sea Hatching Chamber map—the birth of something truly monstrous.
Pulsing flesh and veins line a haunting underwater chamber where a massive central roe throbs with life. Statues of nightmarish aquatic creatures stand in silent vigil around the chamber, their expressions almost as though watching over the grotesque egg. Whatever your players are fighting in here—whether it’s the mother or a fanatical cult dedicated to this creature’s birth—it’s clear that this egg must not be allowed to hatch.
Suggested Mechanics:
- Stone Sentinels. The statues of aquatic creatures surrounding the chamber animate upon any hostility towards the egg, attacking the players with water-themed spells or with overwhelming martial might.
- Eldritch Contractions. The egg convulses occasionally throughout the birthing process, sending a shockwave that radiates across the arena. Players must succeed on a saving throw to avoid being knocked back or taking psychic or force damage.
- Hatching Horror. As the battle progresses, the creature in the egg begins to hatch. Every few rounds, a part of the creature emerges fully formed, gaining new abilities and/or inflicting new status conditions on the arena.
4. Ancient Wizard Lair
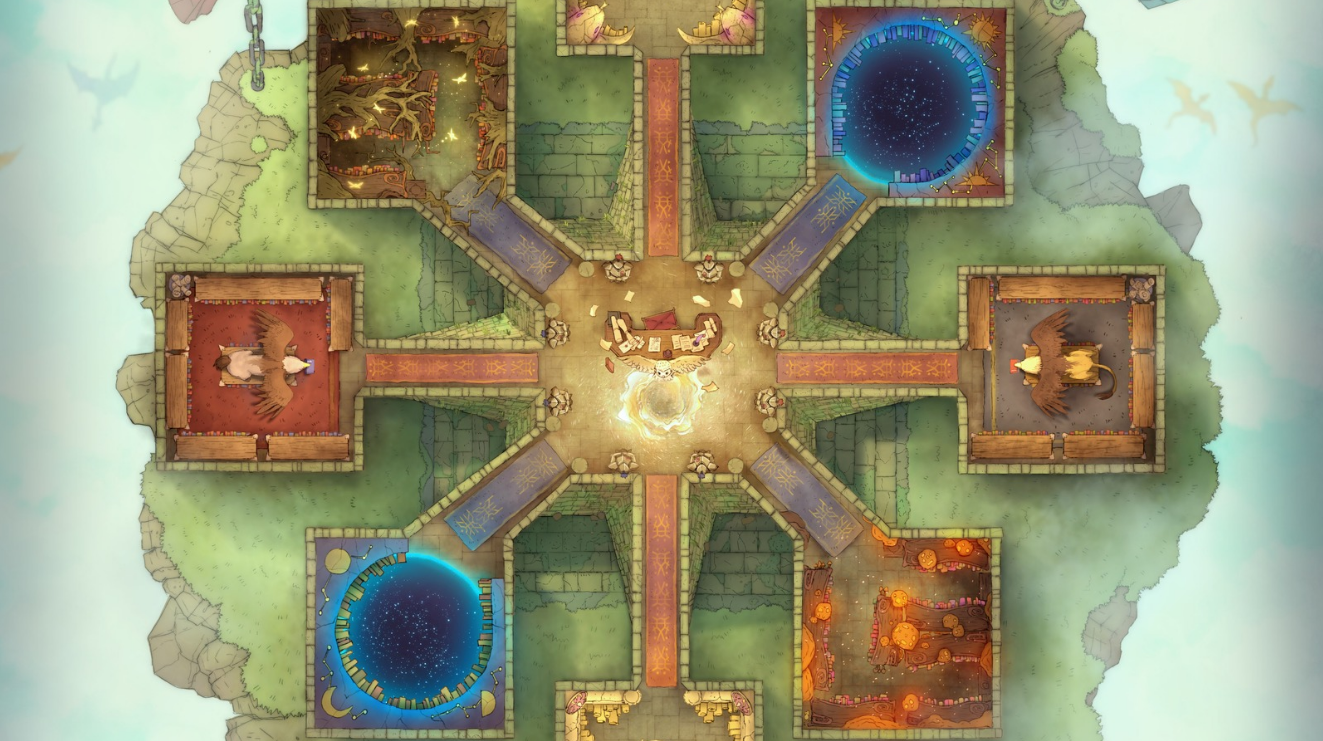
Built upon a mystical floating island anchored within its own secluded demiplane, this Ancient Wizard Lair exudes an aura of enchanting and mysterious power—and could be the backdrop to a unique boss encounter your players will never forget.
The central chamber of this lair features a grand room—possibly the wizard’s study—where enchanted armors stand at attention in every corner. From here, the lair diverges into eight distinct chambers, each filled with arcane wonders, such as vast libraries, portals that open into the void, overgrown glowing mushrooms, and a majestic griffin statue.
Suggested Mechanics
The numerous variants of this map offer even more specialized environments: a wizard council chamber with elegant runes representing various schools of magic, planar portals leading to different dimensions, or elemental rooms complete with elemental creatures residing in each one.
To truly capture the wild and unpredictable nature of the arcane power, we highly recommend swapping between the map variants during the boss fights. This will not only showcase the sheer control that your players’ wizard adversary has over their lair, but also add a dynamic layer to the encounter.
For instance, the runes in the council chamber might activate different magical effects when touched, while the planar portal rooms could summon creatures or hazards from different dimensions.
5. Ancient Hydra Lair - Original
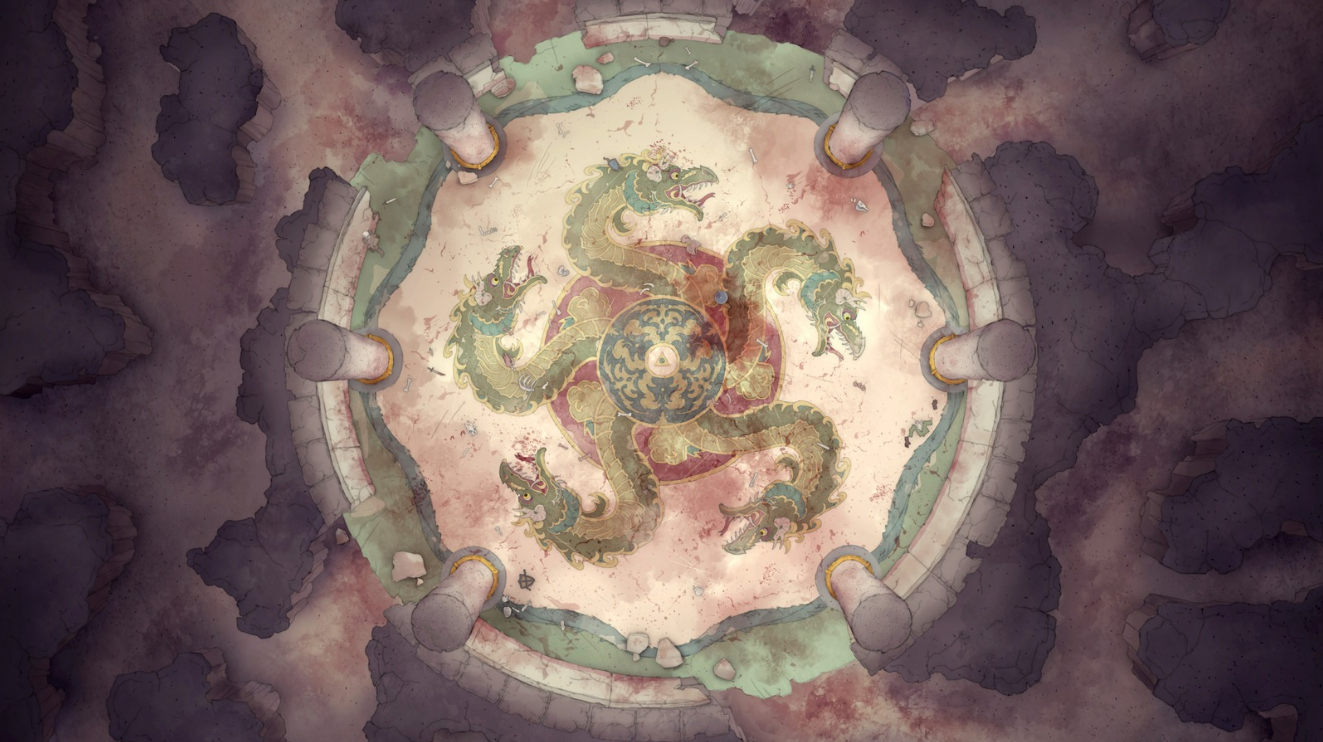
A testament to the passage of time and the fickleness of worship, this Ancient Hydra Lair map features the decaying remnants of a once-beautiful temple—now the domain of something ancient and deadly.
A labyrinthine series of tunnels leads into a circular arena lined with crumbling stone pillars. The jade green tiles of the floor are marred with dust and gore from past challengers, but an intricate mural of a hydra adorning the floor hints that things weren’t always this way between the hydra and the humans.
Suggested Mechanics
- Regenerative Heads. What’s a hydra battle without this iconic feature? Each time a player deals a certain amount of damage to the hydra, it loses a head. The hydra regenerates one of its severed heads at certain intervals of the battle, perhaps gaining hit points or temporary hit points, creating a vicious cycle of regeneration.
- Primal Rage. Once the hydra has sustained enough damage, it can enter a frenzied state, gaining a boost in attack power or growing two heads in place of one. Consider making the extra head lower in health, but with unique traits like poisonous bites or fire-breath, depending on your world’s lore.
- Echoes of the Past. The hydra’s ancient connection to the temple lets it summon worshippers from the past. These spectral warriors once worshiped the hydra and will protect the creature, but perhaps can be convinced to help put the crazed creature to rest.
Looking For Something Else?
With over 6,000 maps in our library, you’re bound to find the right one for any adventure, setting, or world—whether you’re looking for eerie dungeons, vibrant cities, or mystical forests. Discover the perfect map for your campaign right here!
And if you’re looking for even more boss battle maps and ideas, check out the second part of our Boss Lair Battle Maps series, where we’ll dive into even more battlefields and creative mechanics befitting the ultimate fight of your adventure.
Start Your Adventure With a FREE Asset Pack!
Keep up to date with the latest from Czepeku, sign up to our mailing list now and receive an introductory goodie bag of fantasy and sci-fi maps, scene, and tokens.